.png?width=1322&height=525&name=LEANSITE%20LOGO%20(COLORED).png)
Applies to
Organisation users who can add and manage properties.
Before you start
Have the property name, full address, a working budget amount and at least four representative images ready. Use the address that people would recognise when travelling to or servicing the property.
 Add the property
- Open My Property and select Add New Property.
- At Category, choose the property type that best describes the site. The available choices shown in Leansite include Office Building, Retail, Industrial, Hospitality, Healthcare and Mixed-Use. Choose the category that will still make sense when the portfolio grows; it is how the property will be grouped in the product.
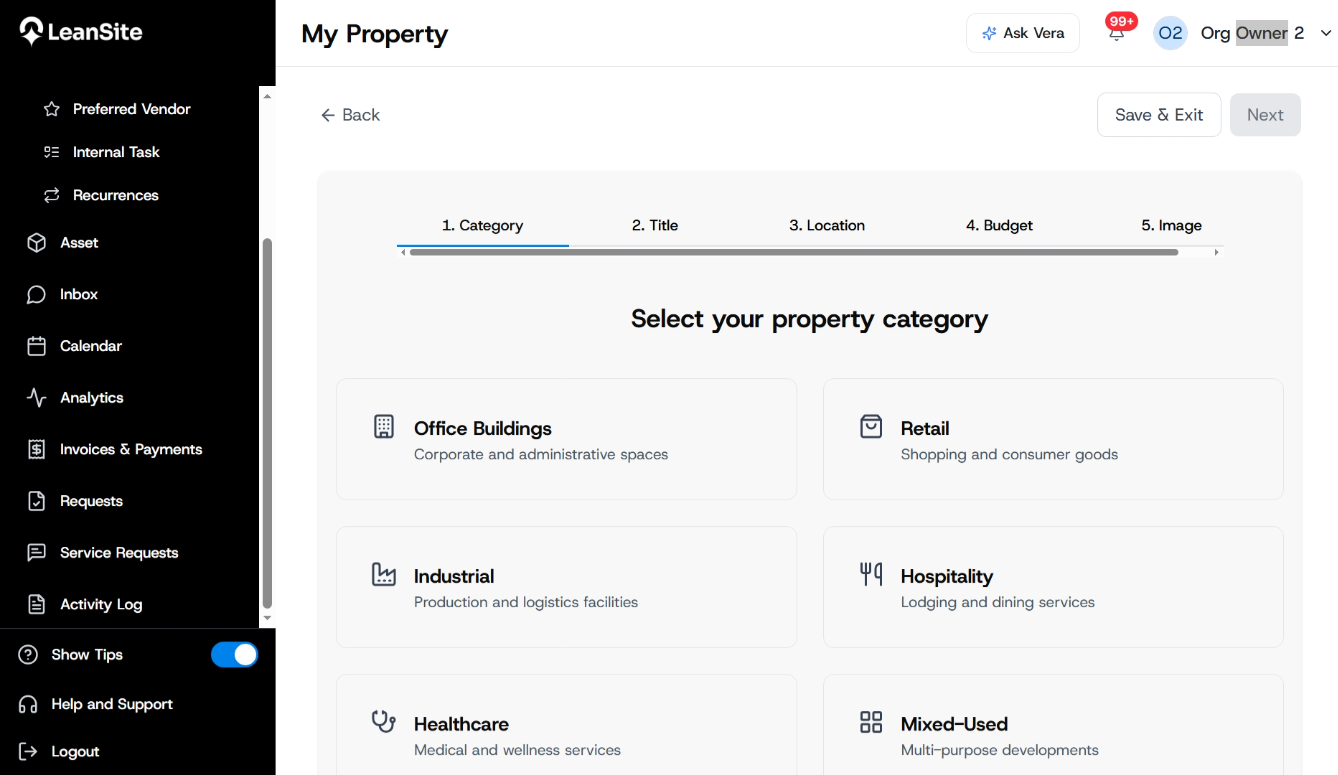
Screenshot cue — “Choose the category your property falls into.jpeg”
Place after step 2. Annotate the category choices and the progress bar: Category, Title, Location, Budget, Image.
- At Title, enter the property name and property size. Use a name that distinguishes the location from others in the portfolio. “Downtown office” becomes unhelpful as soon as there are two offices downtown.
- At Location, search for the address on the map or enter it manually. Check the pin and the street address before moving on. This is the information a person uses to find the site, not simply an administrative record.
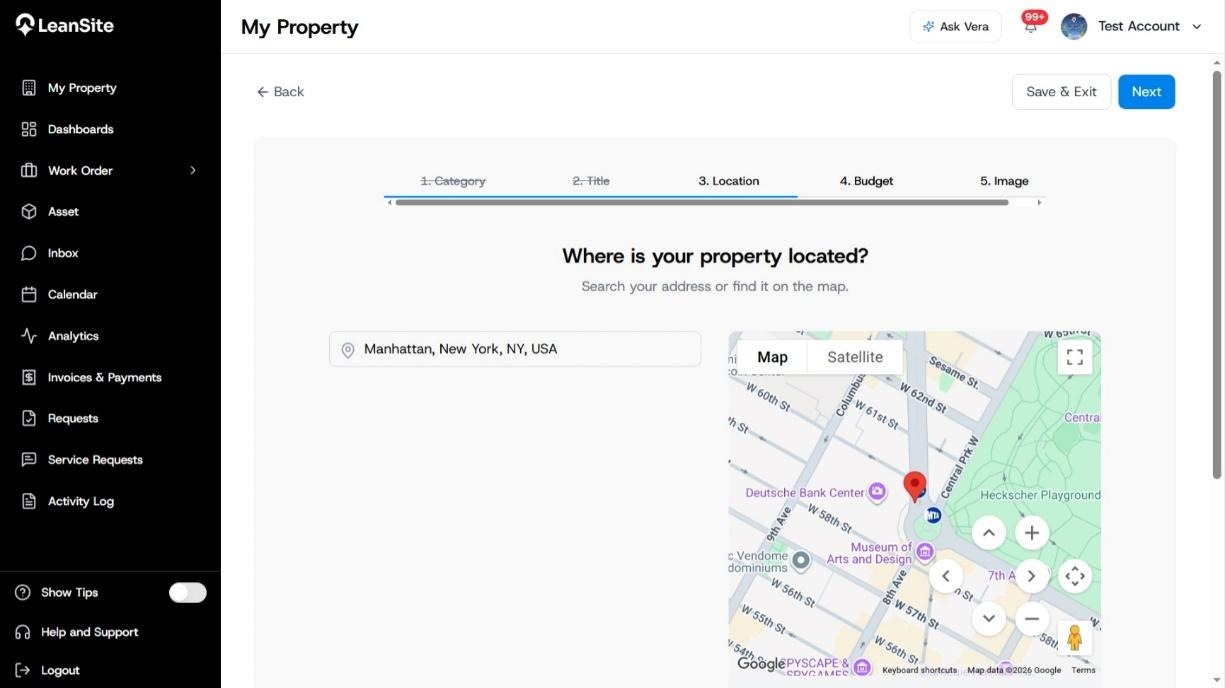
Screenshot cue — “Use the Map selector or manually input your property location.jpeg”
Place after step 4. Highlight the search field, map pin and the manual-entry option.
- At Budget, enter the property’s working budget. Treat this as an operating control: the amount should reflect the approved amount available for the property, not an aspirational annual figure.
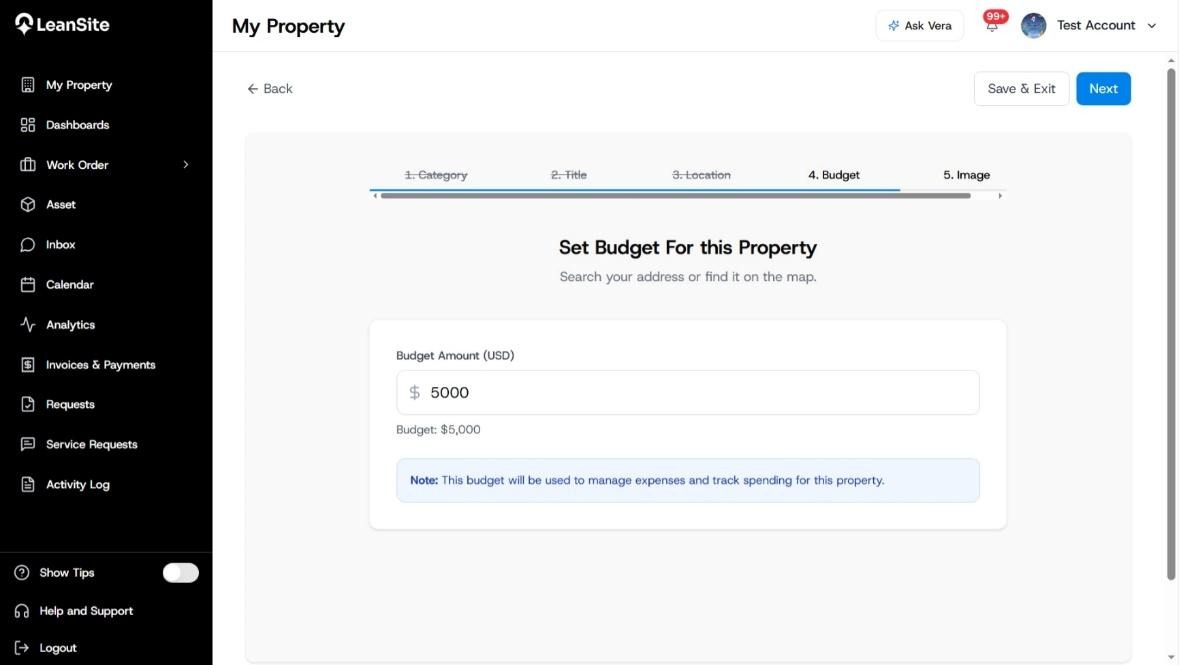
Screenshot cue — “Create a working budget for this property.jpeg”
Place after step 5. Call out the budget amount field and the guidance beneath it.
- At Image, upload at least four images. Include a clear exterior image and images that would help an unfamiliar person identify the property or its important access points.
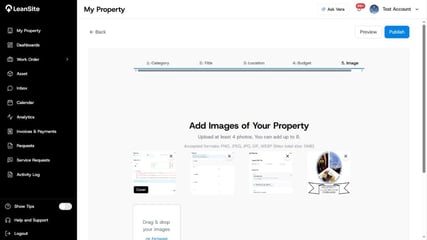
Screenshot cue — “Upload minimum 4 images of your property.jpeg”
Place after step 6. Annotate the four-image minimum and the upload area.
- Review each step before you submit. Select Publish when the information is accurate.
What happens next
Leansite confirms that the property has been added, then takes you to the property record. From there, you can review the property profile, its budget and the work order history as activity begins.
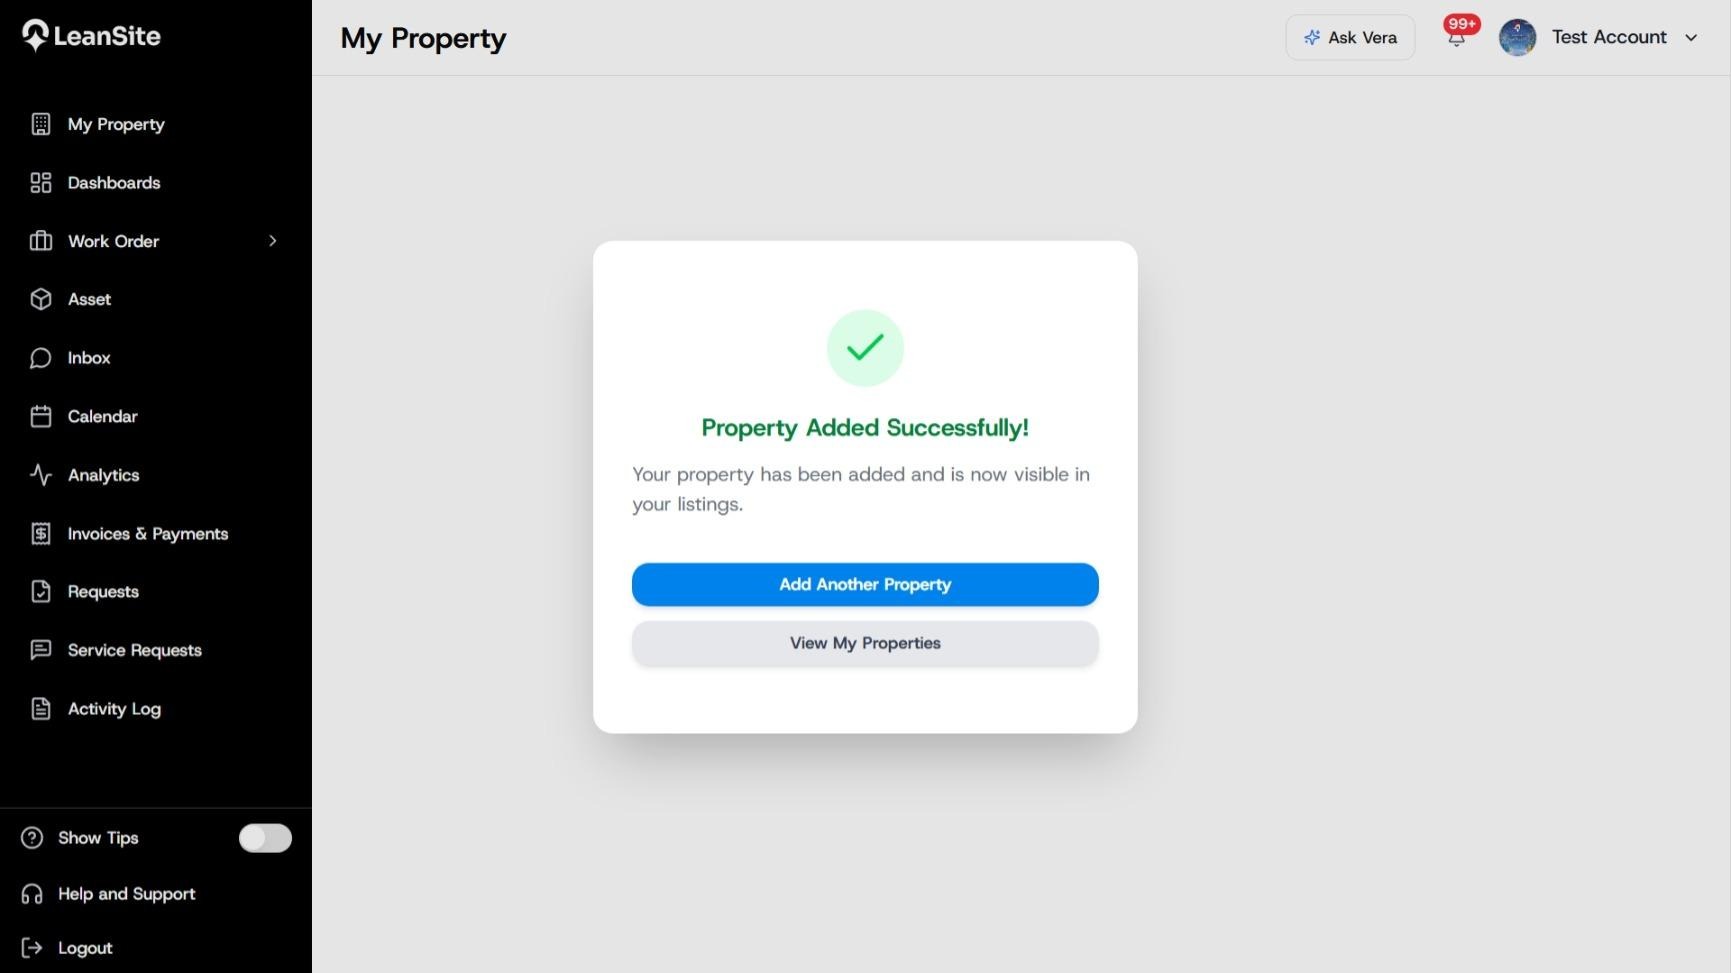
Screenshot cue — “Success your property has been added.jpeg”
Use as the confirmation state. The caption should tell readers that they can return to the property record immediately or add another property.
Screenshot cue — “View your property information on the my property section.jpeg”
Use after the confirmation state. Highlight the property tabs and the budget area so the reader knows where their information now lives.
If something needs correcting
Use the property record to check the name, address, category, budget and images before creating work. Correct the property record first where the error would affect dispatch, reporting or budget oversight. If a property already has live work orders, keep a clear record of any address or naming change so the team does not lose the connection between historical work and the current site.
Related help
- Add multiple properties in bulk
- Create a work order for a property
- Create and deploy QR codes for service requests
Add multiple properties in bulk
Use a CSV import when you are adding a portfolio rather than one property at a time. The import flow lets you upload the data, match the columns to Leansite fields, review the result and correct problems before the records are created.
Applies to
Organisation users who can add properties and have a prepared property list.
Before you start
Use the Leansite CSV template. Give every property a consistent name and a complete address before you upload; a bulk import cannot make ambiguous source data reliable. Keep a copy of the original file so you can trace a correction back to its source.
Import the file
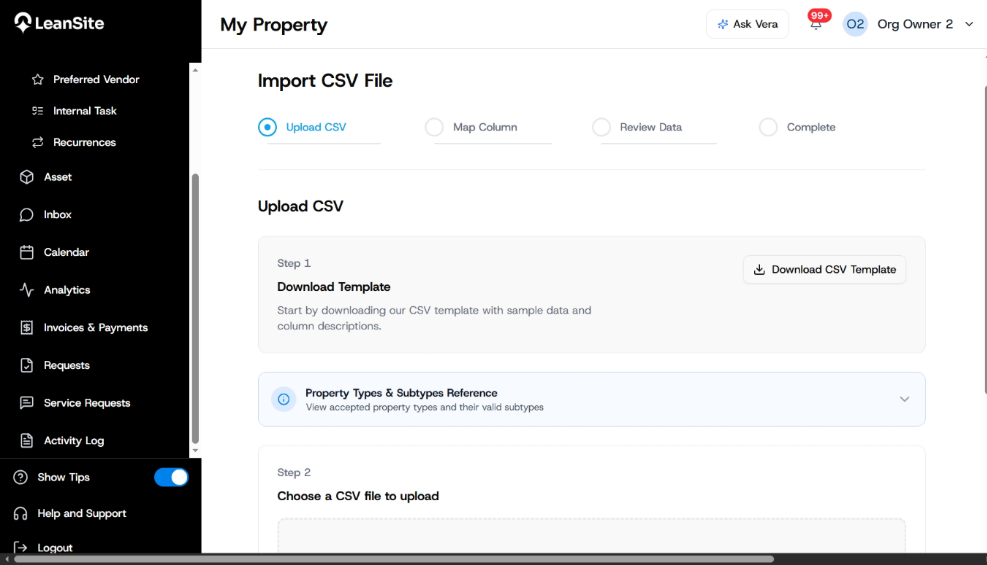
Open My Property, choose the CSV import option and select Upload CSV.
Download the CSV template from the upload screen. Enter your property data in that template, then select the completed file to upload.
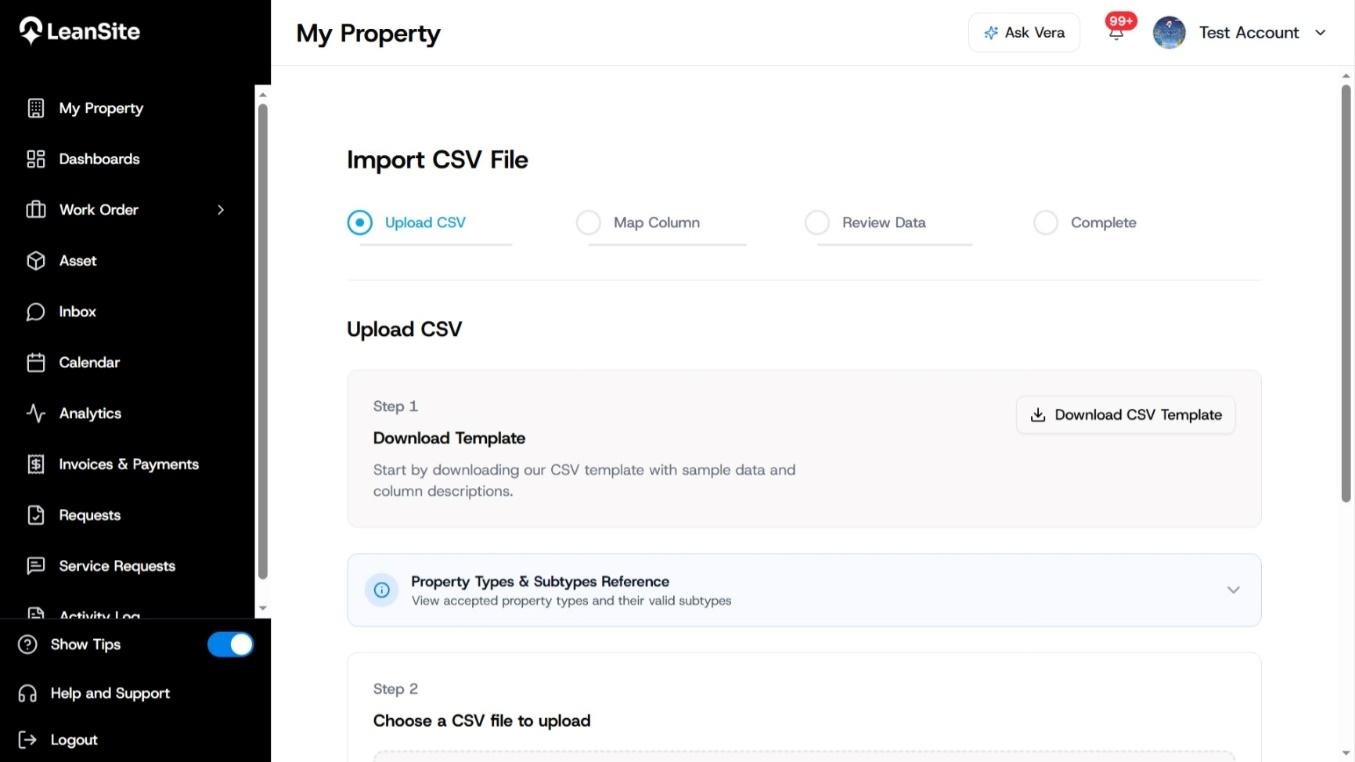
My Property Import via CSV- Frame 1.jpeg
Continue to Map Columns. Match each column from your CSV with the equivalent Leansite field. Read the source-column heading before mapping it; a familiar-looking heading can still contain the wrong type of information.
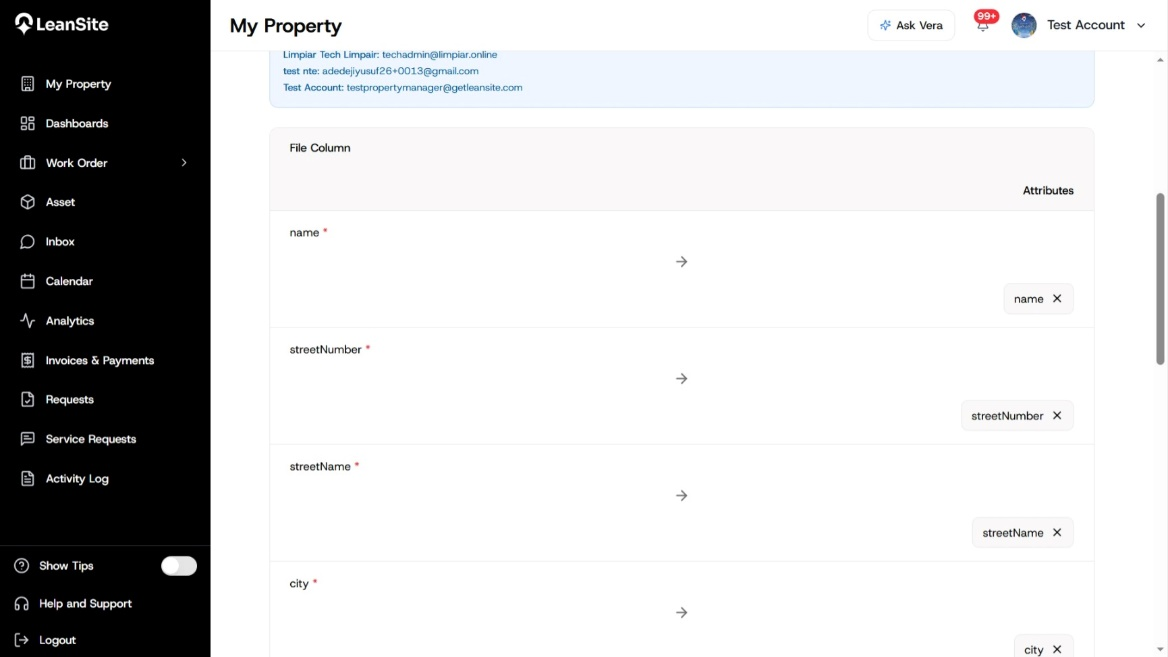
Mapping Columns After CSV Upload.jpeg
Move to Review Data. Leansite separates the rows it can accept from rows that need attention. Resolve the marked issues in the source file before importing; do not rely on memory to repair a large batch later.
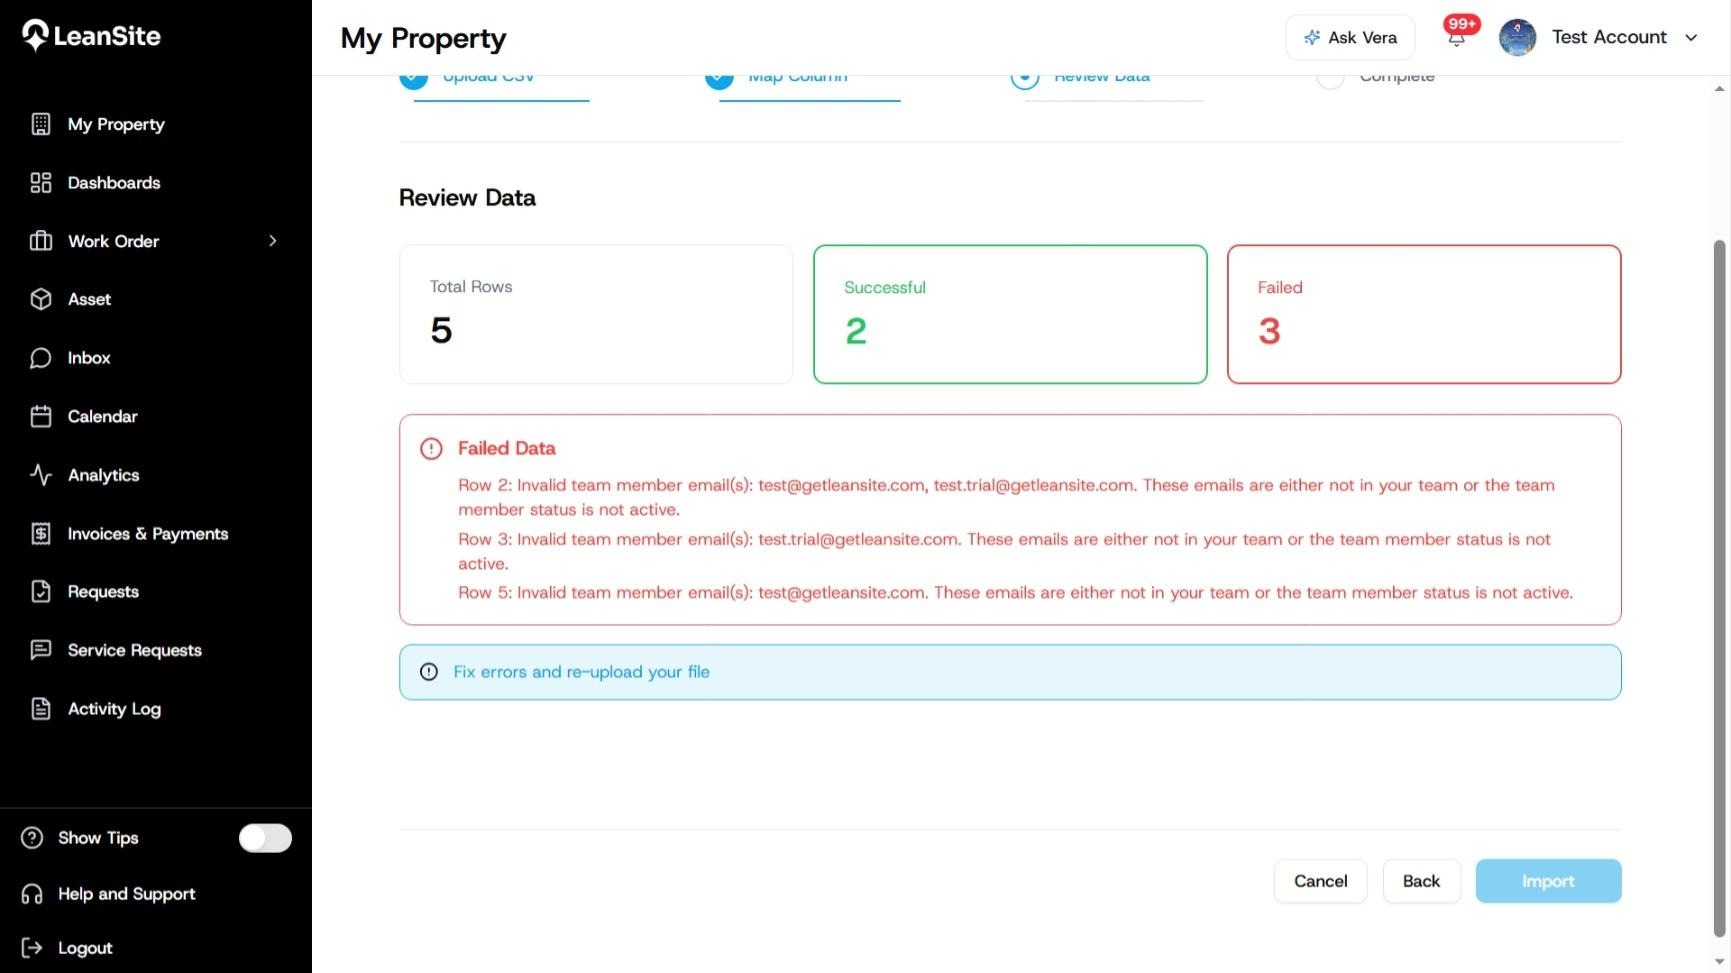
Review your columns after import and mapping.jpeg
When every important issue has been resolved, select Import. Keep the completion view open until you have checked the result.
What happens next
The import creates property records from the accepted rows. Open My Property and check a small sample across the portfolio: one property with a straightforward address, one with a more complex address, and one from each important category. This catches a systematic mapping mistake far earlier than waiting for the first service request.
Common problems
A row is marked as failed. Correct the stated field in the CSV, then run the corrected import. Treat the error message as the source of truth for that row rather than guessing which column Leansite rejected.
The properties are present, but the data looks inconsistent. Check the template headings and the mappings you selected. Correct the source data before uploading a new batch, otherwise, the same inconsistency will be repeated.
You are unsure whether a property was imported twice. Search for the property before importing a corrected file. Use one stable naming convention and keep an import log with the date, file name and number of intended properties.