.png?width=1322&height=525&name=LEANSITE%20LOGO%20(COLORED).png)
This guide covers creating and managing the preferred-vendor relationship. It does not create a work order or change the vendor on work that is already active.
Before you startYou need permission to manage vendors. Confirm the trade or service category and the vendor’s correct email address. Review any existing preferred-vendor list for the category before adding another company.
1. Open Vendor settingsOpen Settings and select Vendors. Choose the relevant Trade/Service. The page shows preferred-vendor cards for that category, including rank, rating, jobs completed, date added, contact information, notes and available management actions.
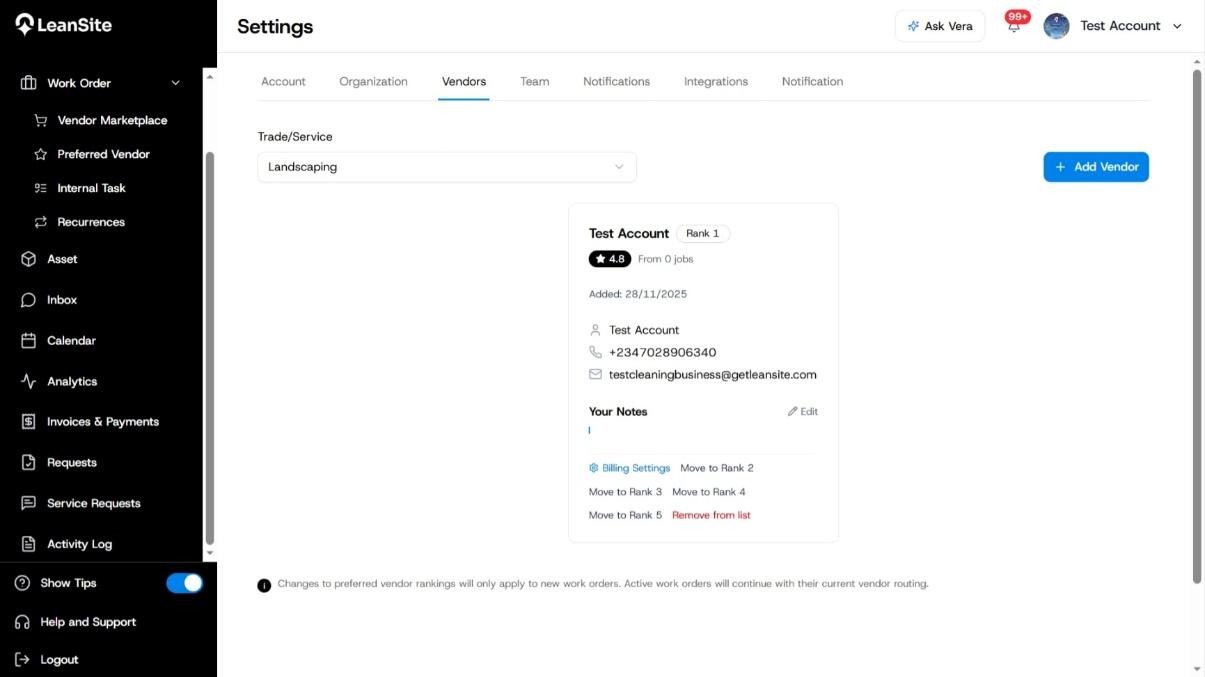
Alt text: Vendor settings page showing a ranked preferred vendor with rating, contact details and management actions.
2. Start adding a vendorSelect Add Vendor, choose the Trade/Service Category, then select one of the two routes:
- Search Marketplace finds vendors from completed marketplace work.
- Invite New Vendor invites a vendor who is not yet on the platform.
Select Continue after choosing the route.
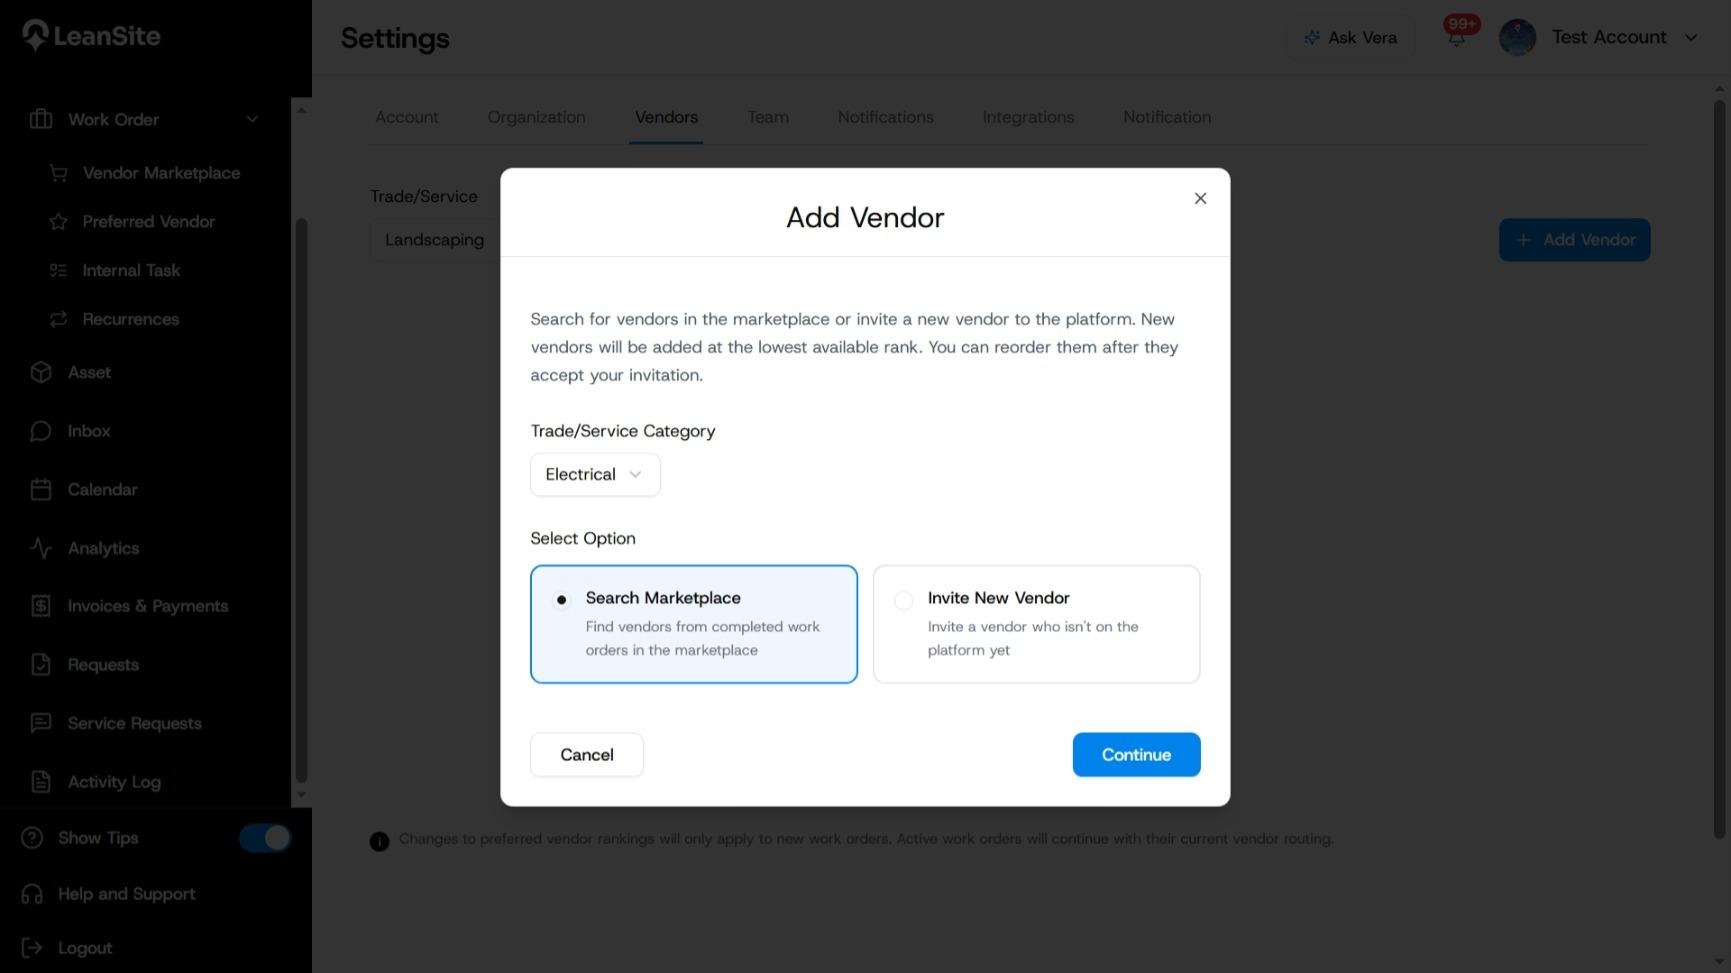
Alt text: Add Vendor window with Trade/Service Category and Search Marketplace or Invite New Vendor options.
3A. Add a vendor from the marketplaceUse Search Marketplace when the organisation has completed marketplace work with the vendor. Review the available vendor and select the company you want to add for the chosen category. Confirm the position it will take in the preferred-vendor list.
3B. Invite a new vendorUse Invite New Vendor when the company is not yet on the platform. Select the proposed Rank, enter the required Email Address and add a useful Note, then select Continue.
The vendor joins the preferred list after accepting the invitation. The Add Vendor guidance states that new vendors are placed at the lowest available rank and can be reordered after acceptance.
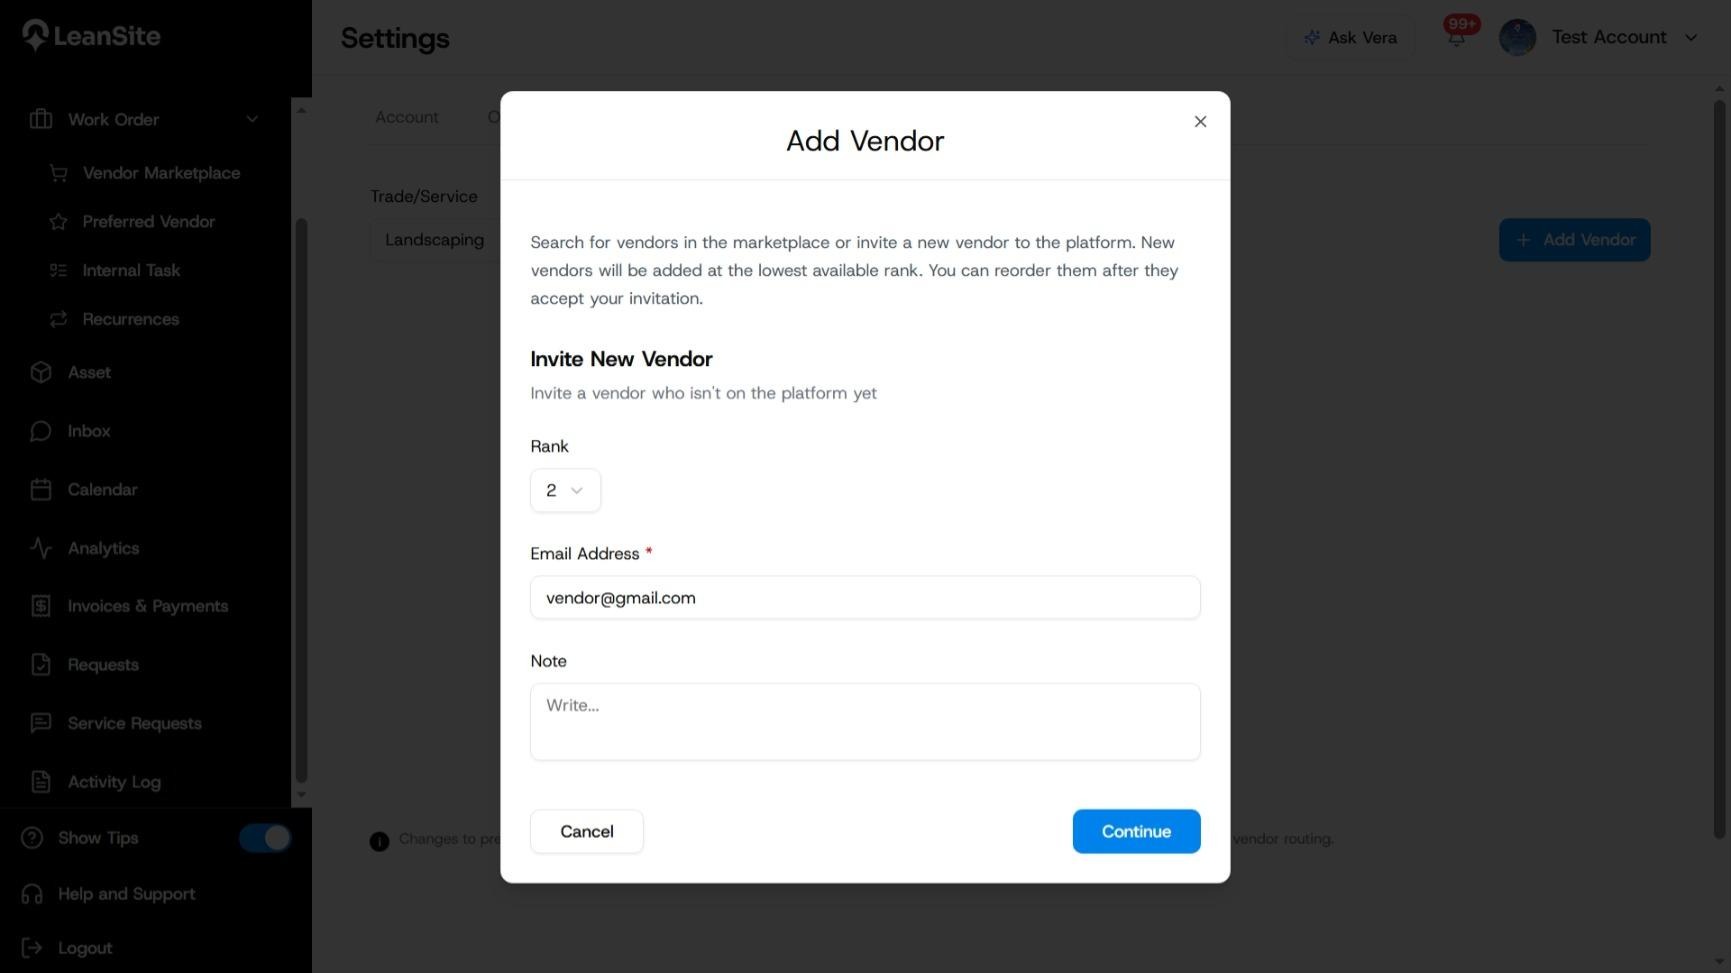
Alt text: Invite New Vendor form showing Rank, required Email Address, Note and Continue.
4. Review the preferred-vendor orderReturn to Settings > Vendors, select the trade or service, and review the ranked cards. Use the available rank actions to move a vendor to another position. You can also update Your Notes, open Billing Settings or remove a vendor from the list through the card’s controls.
Ranking changes apply to new work orders. Existing active work orders continue with their current vendor routing.
Expected resultThe accepted vendor appears in the preferred list for the selected trade or service category with a rank and vendor details. New eligible work can use the updated routing order.
If the vendor does not appearCheck that the correct trade or service category is selected. For an invited vendor, confirm the email address and whether the invitation has been accepted. Keep existing active work orders with their current vendor unless their own work-order controls are used to change the assignment.