.png?width=1322&height=525&name=LEANSITE%20LOGO%20(COLORED).png)
This guide explains how to use the confirmed Property Details tabs and their direct actions. Property creation, budget adjustment, transfers, asset creation and work-order creation remain separate tasks with their own guides.
Before you startConfirm that your role includes access to the property. When reviewing a reported issue, have the property name or address, asset identifier or work-order reference available so you can locate the correct record quickly.
1. Open the property recordSelect My Property, then open the relevant property card. Property Details opens over the portfolio view and keeps a breadcrumb back to the property list. Confirm the property name and address before using any action.
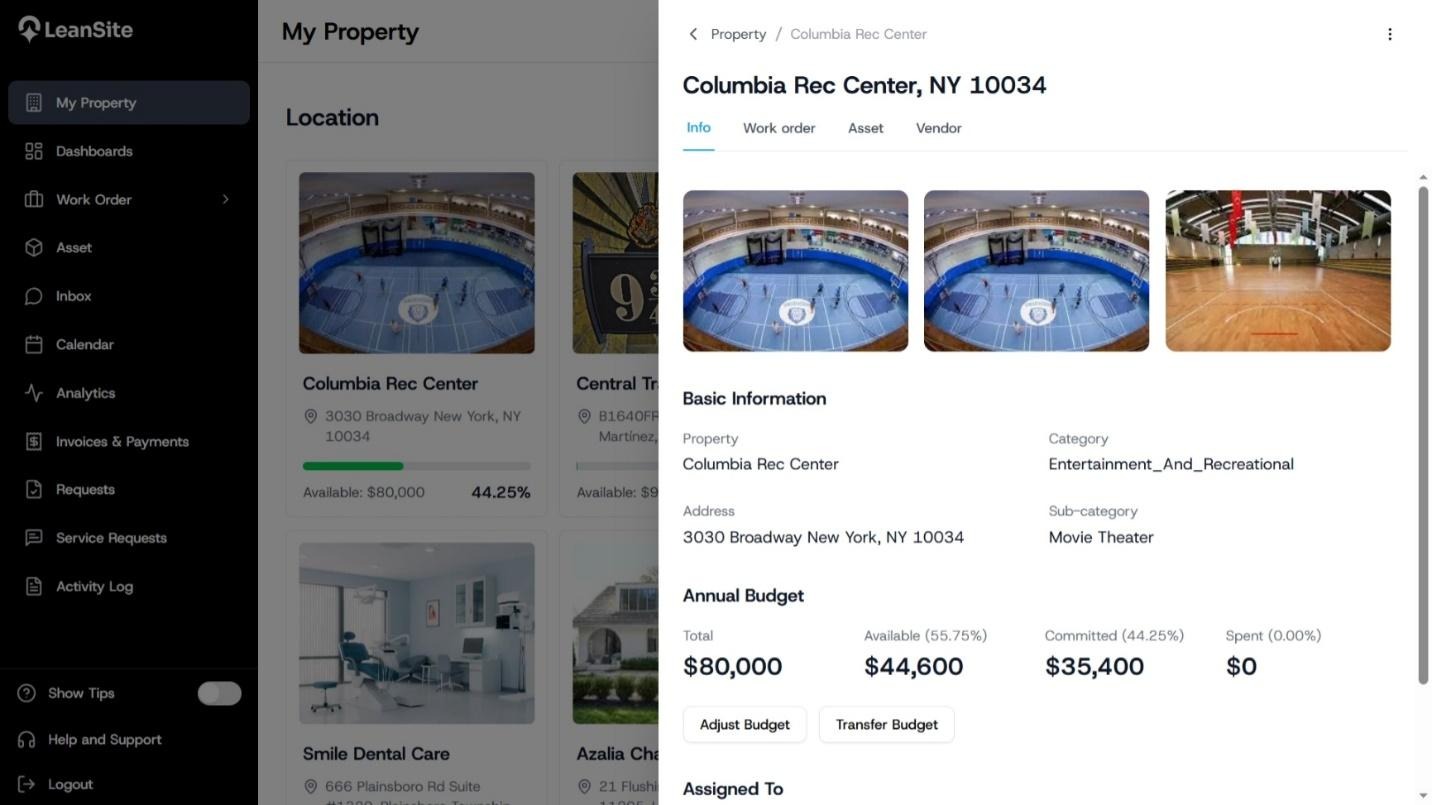
Alt text: Property Details for Columbia Rec Center showing the Info, Work order, Asset and Vendor tabs.
2. Use Info to establish the property contextThe Info tab shows property images and basic information such as property name, category, address and sub-category. Its Annual Budget area shows Total, Available, Committed and Spent. Review those values before authorising external work or changing an NTE.
The tab also provides Adjust Budget and Transfer Budget actions. Use their dedicated guides because each action has its own permission, validation and audit requirements.
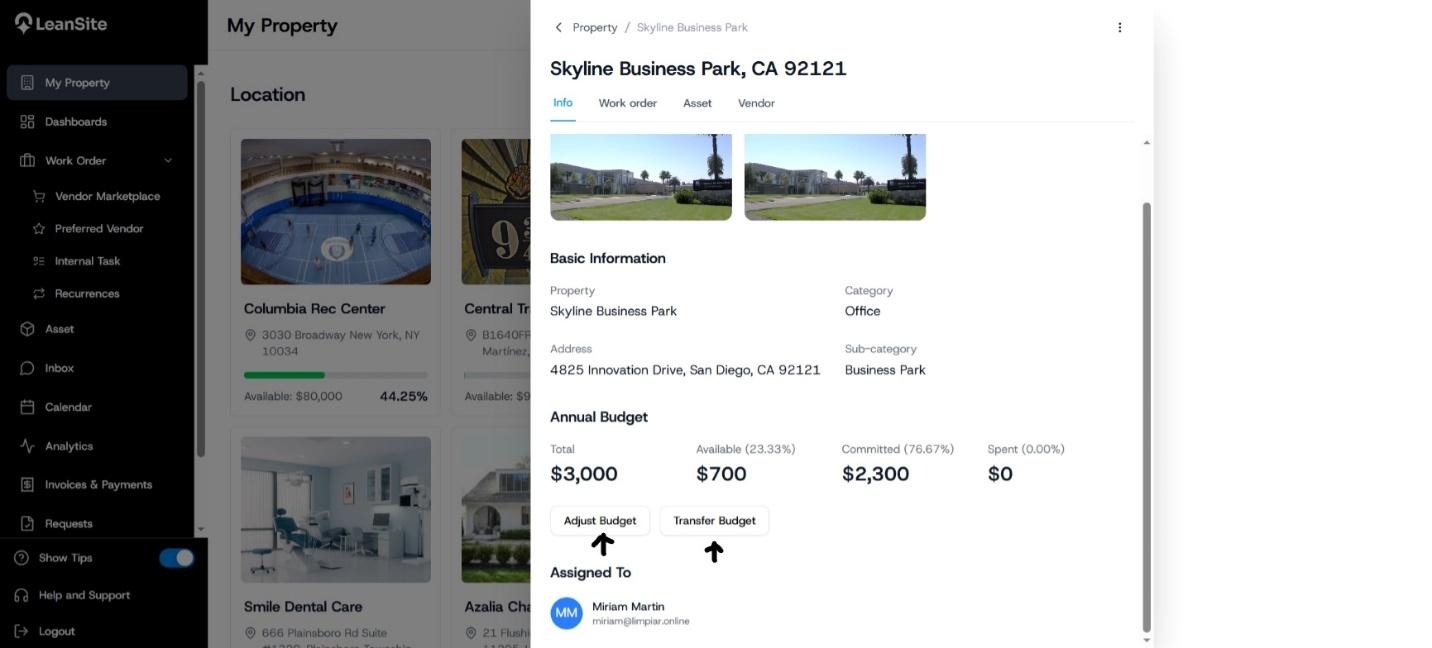
Alt text: Property Info tab showing Total, Available, Committed and Spent, with Adjust Budget and Transfer Budget actions.
3. Review current and historical workSelect Work order to review work connected to the property. The supplied screen separates open work, completed work and unassigned work, and shows the related work-order records. Open a record for its full scope, status, assignee and history. Use the property-scoped creation action when new work should inherit this property.
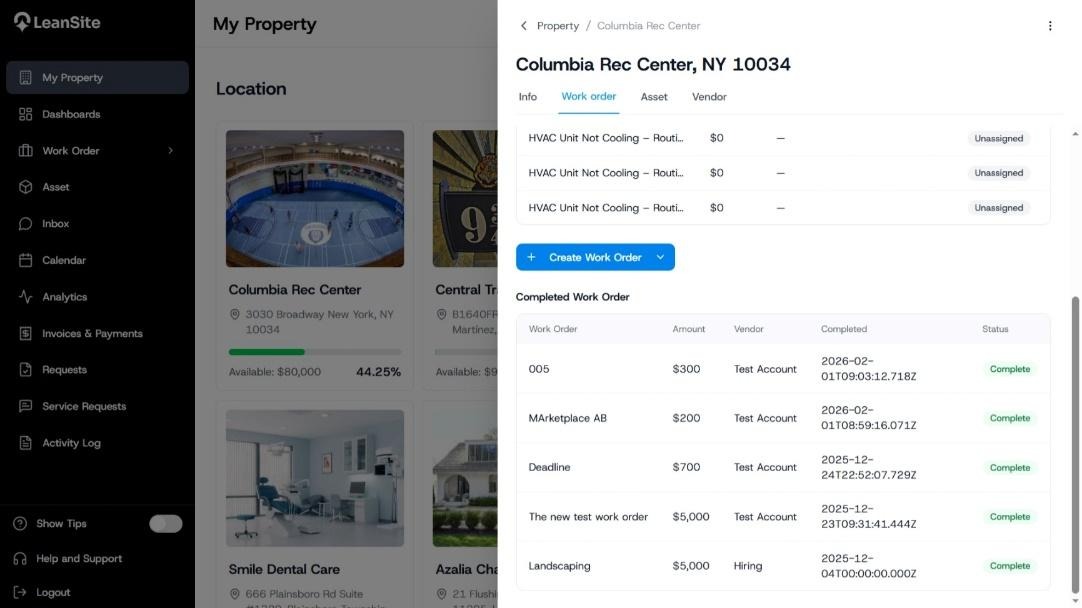
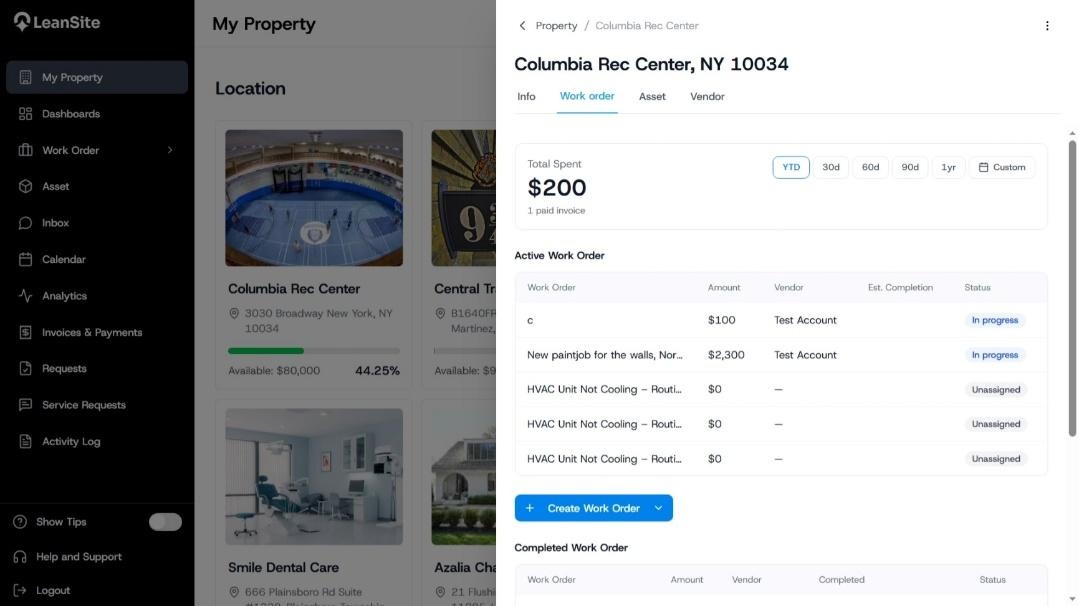
Alt text: Property Work order tab showing summary counts and active records; property work-order history view.
4. Inspect the property’s assetsSelect Asset to see assets recorded at the property. The list can show the asset name, generated ID, alias and status. Open the dedicated Asset module when you need to create or edit inventory records, then return to the property view to confirm the asset appears in the correct location.
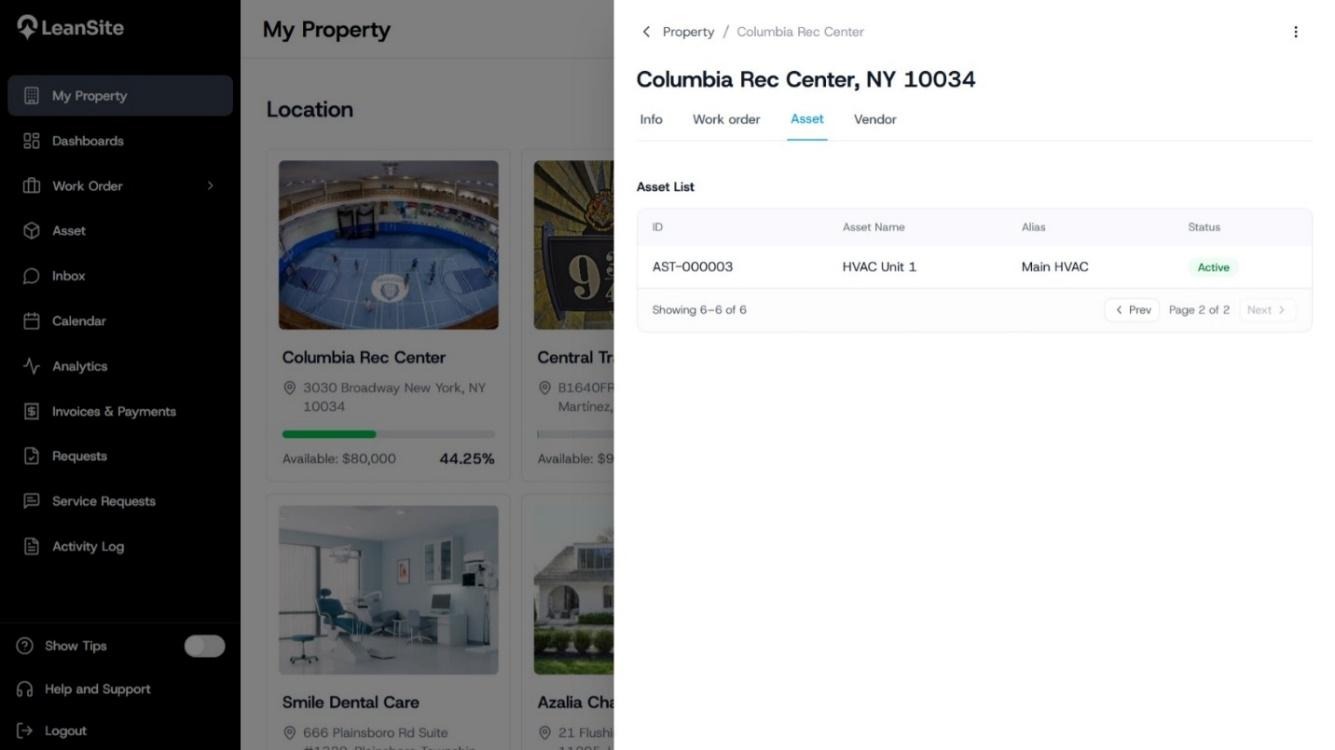
Alt text: Property Asset tab listing an asset with its generated ID, alias and Active status.
5. Review vendor relationships at the propertySelect Vendor to review preferred vendors connected to the property. Use the displayed relationship and work information to establish whether a provider already serves the location. Open the vendor record or vendor-management workspace before changing eligibility or inviting a new provider.
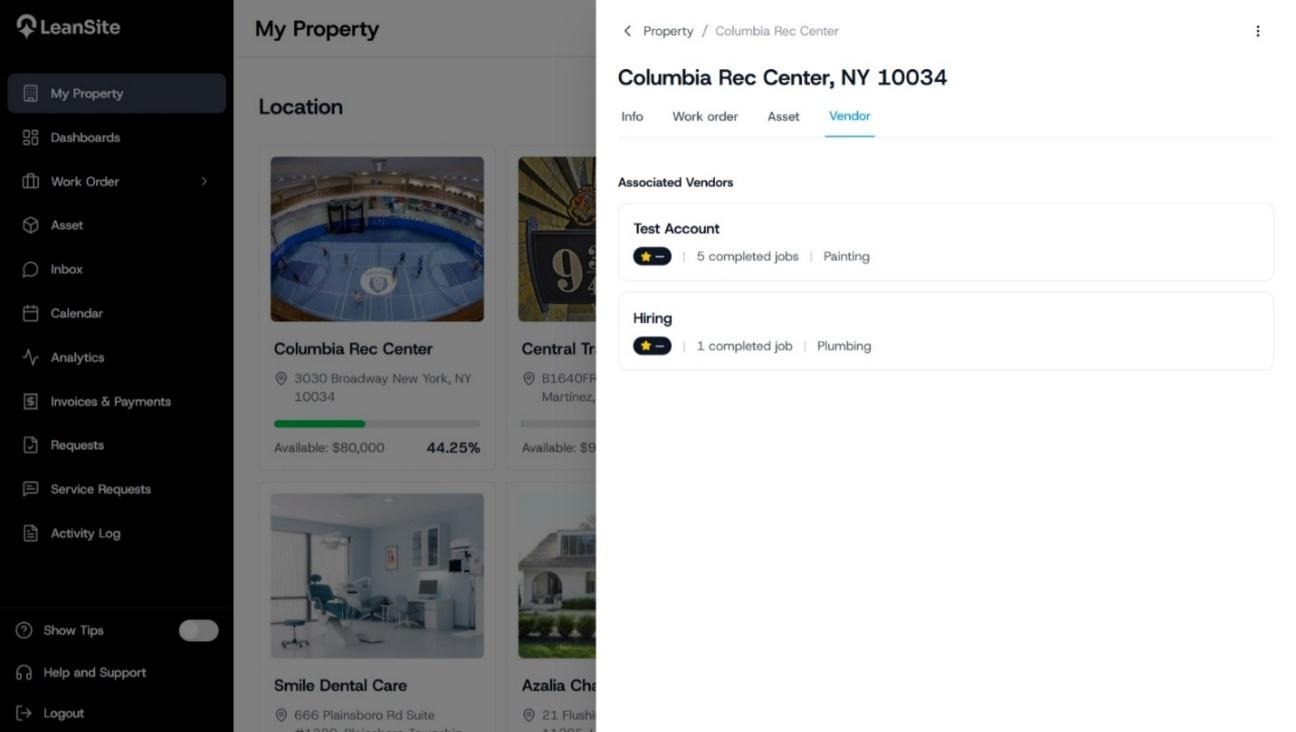
Alt text: Property Vendor tab showing providers connected to the selected property.
6. Continue in the operating recordProperty Details provides location context and links into deeper work. Make a work-order change in the work-order record, an asset change in the asset record and a vendor change in vendor management. This keeps the operating history attached to the correct record.
The current supplied build does not show a working Compliance tab. Do not use Property Details documentation to promise compliance functionality until it appears in the release build.
Expected resultYou can open one property and review its core details, budget position, work, assets and vendor relationships before continuing into the correct operating module.
If information is missing or inconsistentConfirm the property and your access scope. Open the underlying work order, asset, vendor or budget record and compare its current state. Use the Activity Log to trace recorded changes. Contact LeanSite Support when the source record and Property Details remain inconsistent.
Related articles- Add Your First Property
- Understand Budgets and Not-to-Exceed Limits
- Create an Asset